Free Delivery over £70
Cutting PVC wall panels is easier than you might think—especially with the right tools and techniques. If you’re confident in your DIY skills, this guide will walk you through the process. However, if you’d prefer a flawless, professional finish, we always recommend hiring a fitter.
Best Tools for Cutting PVC Wall Panels
You’ll need:
✔ Pencil & Ruler – For accurate markings
✔ Tape Measure – To get precise measurements
✔ Your Preferred Cutting Tool (see options below)
Which Cutting Tool Should You Use? No matter which tool you choose, always use a fine-tooth blade for the cleanest, smoothest results—whether it’s manual or electric.
✏️ Hand Saw or Tenon Saw – A fine-tooth saw works best for a clean, smooth cut.
🪚 Jigsaw – Ideal for cutting curves or intricate shapes. Use a fine-tooth blade for neat edges.
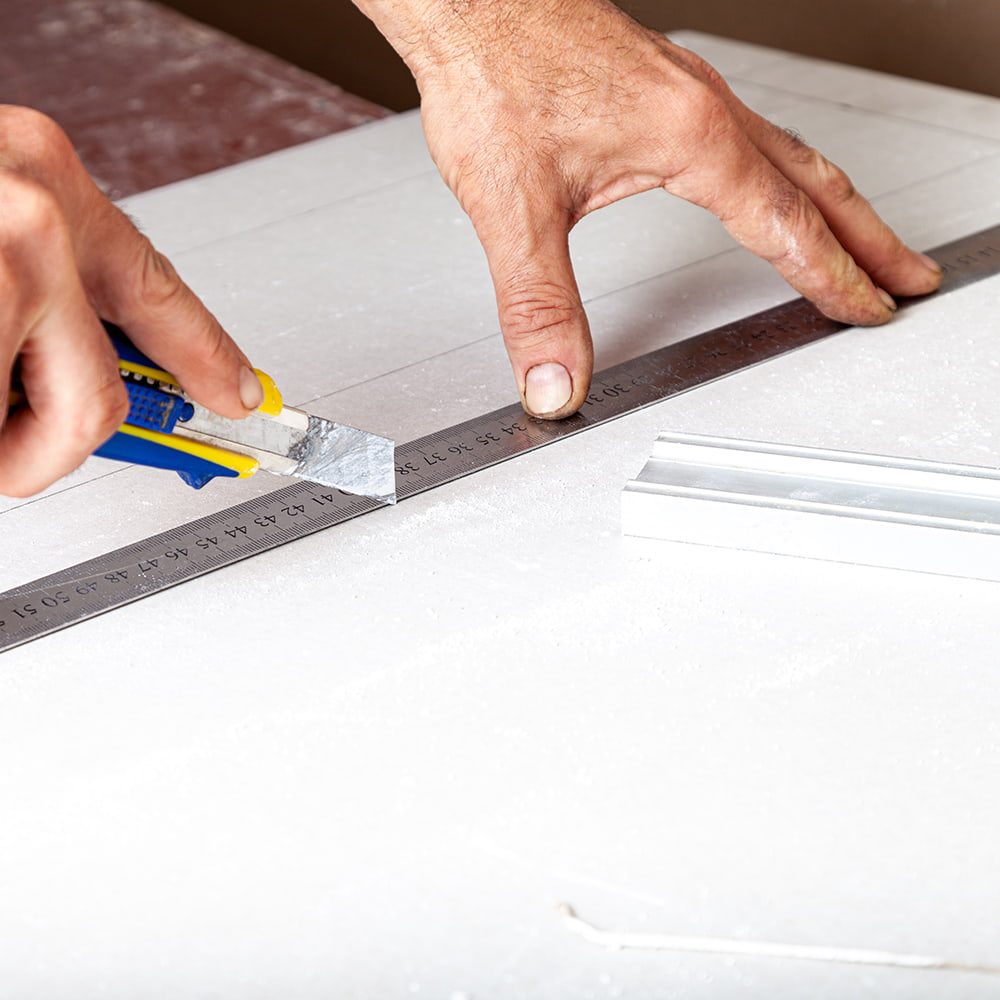
🔪 Stanley Knife – Great for making straight, controlled cuts. Always use a stable, flat surface.
⚡ Circular Saw or Chop Saw – Powerful options, but they can leave rough edges. Always test on a scrap piece first.
Step-by-Step Cutting Guide
1: Prepare Your Panel
- Lay the panel flat on a sturdy surface for stability.
- Flip it face up (design side up) to protect the visible side from scratches.
2: Measure & Mark
- Use a tape measure to get the exact dimensions you need.
- Mark your measurements on the front of the panel with a pencil.
3: Draw a Cutting Line
- Use a ruler to connect your measurement marks, ensuring a perfectly straight cutting guide.
4: Make the Cut
- Start at one end and cut slowly and steadily along the marked line.
- Follow your guide carefully for a clean, precise finish.
Pro Tip:
Not 100% confident with DIY? A professional fitter can guarantee a flawless result—saving you time and effort.
By following these steps, you’ll achieve smooth, precise cuts on your PVC wall panels, making installation quick and easy. Need help? Feel free to reach out with any questions or for recommendations on trusted fitters.