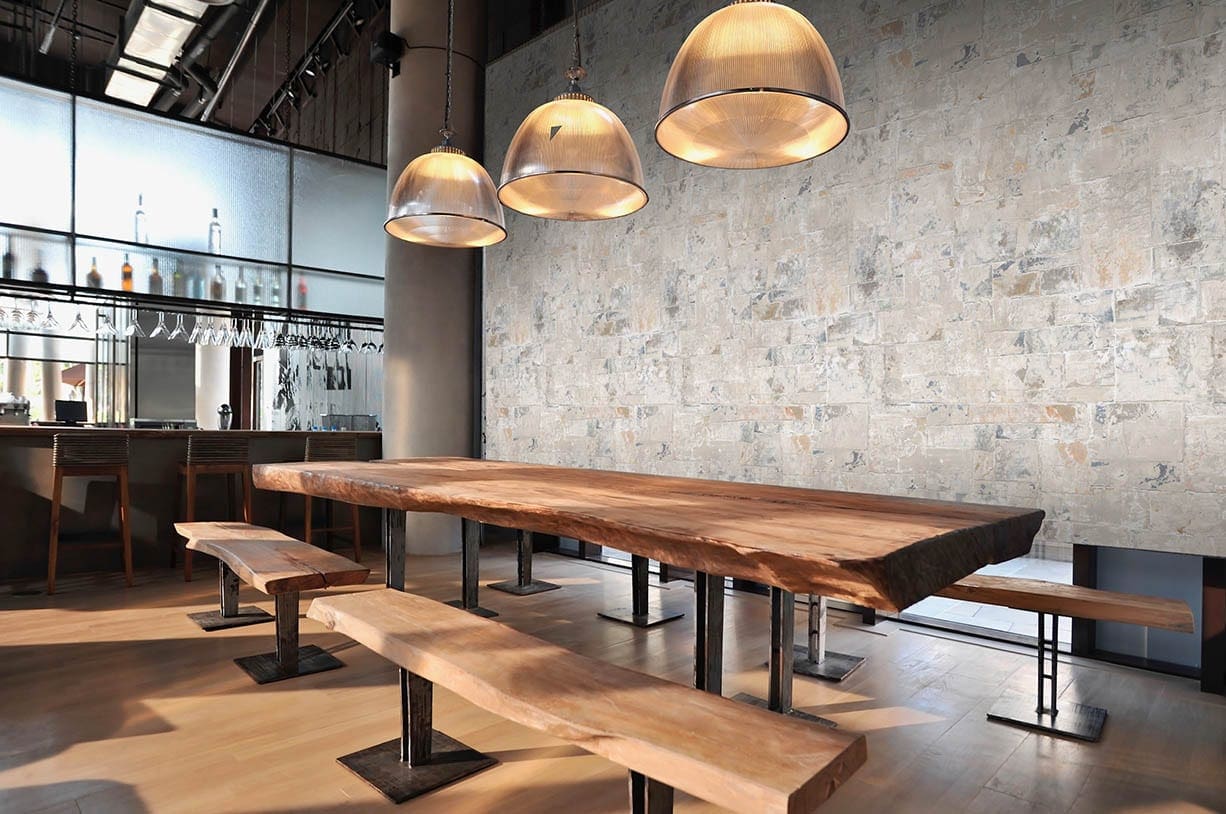
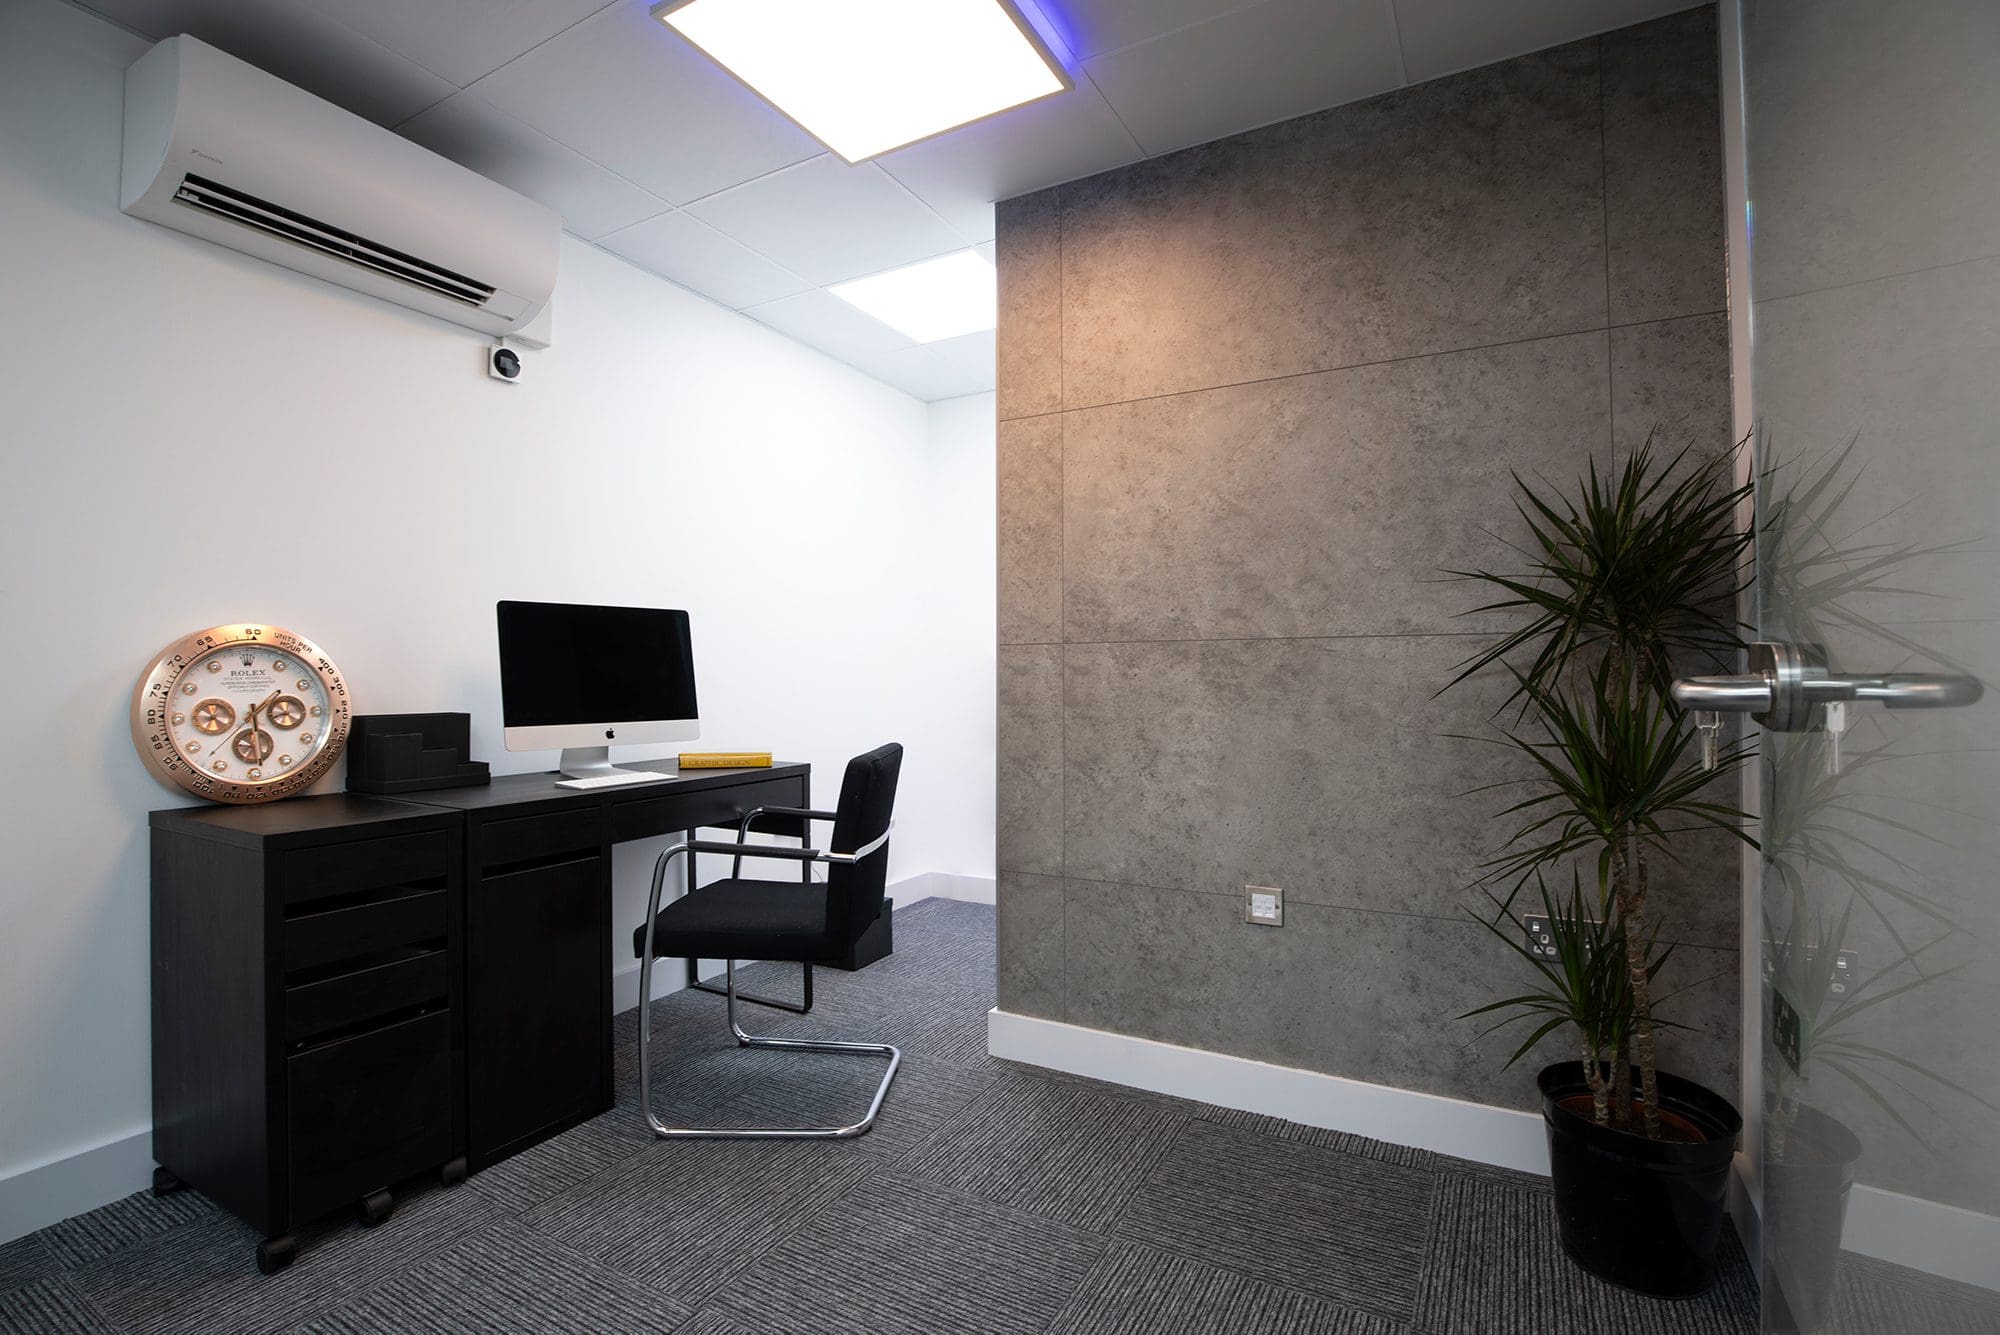
Are you looking to enhance the aesthetic appeal and functionality of your commercial space? At Targwall, we are dedicated to providing high-quality PVC wall panels, that are stylish and easy to install. In this comprehensive guide, we will walk you through how to install our wall panels that use tongue and groove fixings. Whether you are a seasoned professional or a DIY enthusiast, our detailed instructions will help you achieve professional results and transform your space.

Step 1: Preparation
Measure the Wall: Measure the height and width of the wall to determine how many panels you will need. It is recommended to add a few extra inches to your measurements to accommodate any cuts or adjustments. To get an approximate of how many packs you may need, you can find our panel calculator on the right-hand side of each product page.
Gather Tools and Materials: Make sure you have all the necessary tools and materials ready; this will include the PVC panels of your choice, adhesives, measuring tape, spirit level, saw, and safety equipment like goggles and gloves.
Prepare the Surface: Ensure that the wall surface is clean, dry, and smooth. Remove any existing fixtures or obstructions from the wall.
Plan the Layout: Decide on the layout of the panels, considering the position of doors, windows, and corners. We recommend starting from one corner and working your way across the wall.
Step 2: Cutting panels.
For the best results, it’s better to start with trims. Using a tape measure and knife, cut the trims to size, lengthways. Next using the trims as a guide, cut your panels to the same length, remember to measure multiple times to avoid mistakes.

Step 3: Fitting your first panel.
Apply adhesive to your trims in a zig-zag pattern and fit them to the wall, use a spirit level to make sure the trim sits straight. If you are using a two-part trim remove the top face before fitting. Once your trim is in place fit your first panel, using the tongue and groove system, if fitted corrected panels should slot into place.
Step 4: Fitting the rest of your panels.
Now that your first panel is fitted, use adhesive on the back of your remaining panels and interlock using the tongue and groove system. Insert the tongue of the first panel into the groove of the adjacent panel at a slight angle. Press the panel firmly against the wall, ensuring its level and flush. Continue installing panels one by one, ensuring that each panel is properly aligned and securely fastened to the wall. When you encounter obstacles such as outlets or pipes, measure and mark the panel accordingly before cutting it to fit.
Step 5: Finishing Touches
Trim off any excess material or uneven edges for a clean finish. Make any final adjustments to ensure there are no gaps or unevenness and allow the adhesive to dry according to instructions. If you have fitted your wall panels in a bathroom or kitchen add silicone caulk along the joints between the panels to ensure they are watertight.
Clean the panels using a mild detergent and water to remove any adhesive residue or dirt. To see our video guide click on the link here https://youtu.be/17Gz5R4FS1s For more information and ways, we can help you, please get in contact at 01827 948 655 or send an email to [email protected].


