Getting the right measurements for your wall panels is the first step to achieving a seamless, professional-looking finish. Whether you are giving a room a fresh look or adding decorative character, measuring correctly ensures a perfect fit with minimal waste. Follow this easy guide to learn how to measure for wall panels like a pro.
Tools You’ll Need for Accurate Measuring
Before you start, gather these basic tools to ensure your measurements are precise:
- A tape measure: For calculating width and height.
- A notepad or phone: To record your measurements immediately.
- A pencil and ruler: For marking walls if needed.
The 4-Step Process: How to Measure for Wall Panels
Step 1: Measure the Width of Your Wall
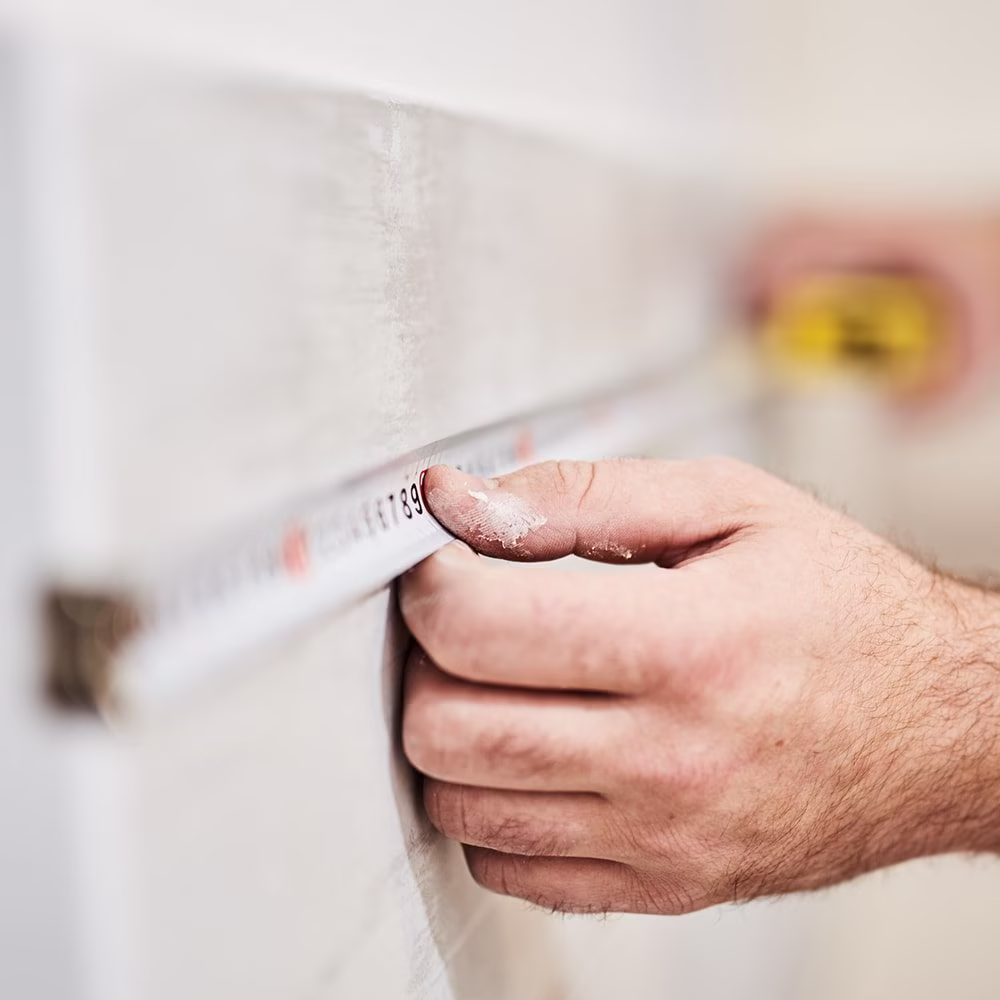
Start by measuring the total width of the wall where the panels will be installed.
- Place your tape measure along the base of the wall and record the width in millimetres (mm) or centimetres (cm) for accuracy.
- If the wall has alcoves or uneven sections, measure both the widest and narrowest points to ensure full coverage.
- Pro Tip: Measure every wall separately, even if they look identical; small variations can significantly impact your order.
Step 2: Measure the Height of Your Wall
Next, measure from the floor to the ceiling, or to your desired panel height.
- Take measurements in at least three places—left, center, and right—because floors and ceilings are rarely perfectly level.
- Use the shortest height measurement for full-height panels to avoid gaps at the top.
- Be sure to check the height of the specific panels you are ordering against these measurements.
Step 3: Account for Doors, Windows, and Outlets
When planning your layout, you can generally ignore doors, windows, and outlets for your total quantity calculation.
- Panels are typically cut to fit around these features during installation without changing the overall number of panels required.
- Simply ensure you mark where these cuts are needed during the actual installation for a precise fit.
Step 4: Calculate Your Final Panel Quantity
Once you have your measurements, you can determine exactly how many panels to order.
- Check panel dimensions: Find the width of your chosen panel on the product page.
- Divide the width: Divide the total width of your wall by the width of one panel.
Add a buffer: Always add 10% extra to your order to allow for cuts, mistakes, or future adjustments. It is better to have a small amount extra than to run short at the end of the project.
Final Checks Before You Order
Before finalising your purchase, keep these points in mind:
- Double-check: Re-measure everything to avoid ordering too much or too little.
- Uneven Walls: If your walls are particularly uneven, consider ordering slightly more than the 10% buffer to allow for extra adjustments.
- Get Expert Help: If you need help calculating the exact amount, reach out to us for assistance.